Step-by-step guide
Getting Started with AiWeapX POS
Complete these steps once before you begin selling. Most businesses can finish setup in a few minutes.
On this page1. Create your account2. Verify your phone3. Add your business4. Choose your team profile5. Add your team6. Review your setup7. Download AiWeapX POS
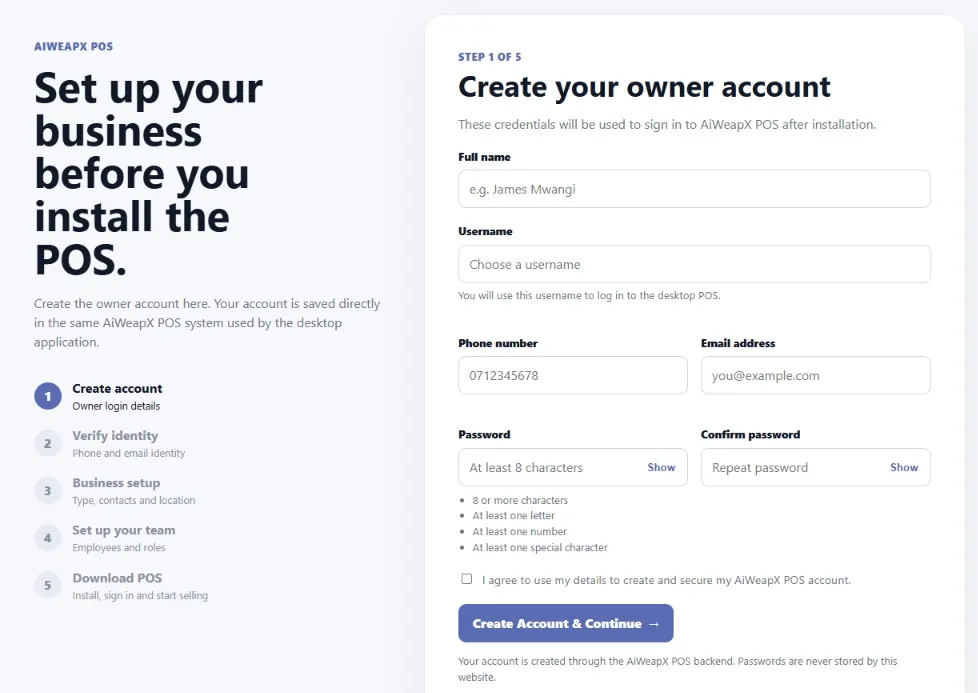
1. Create your account
Enter the owner details, choose a password, then click Create account & continue.
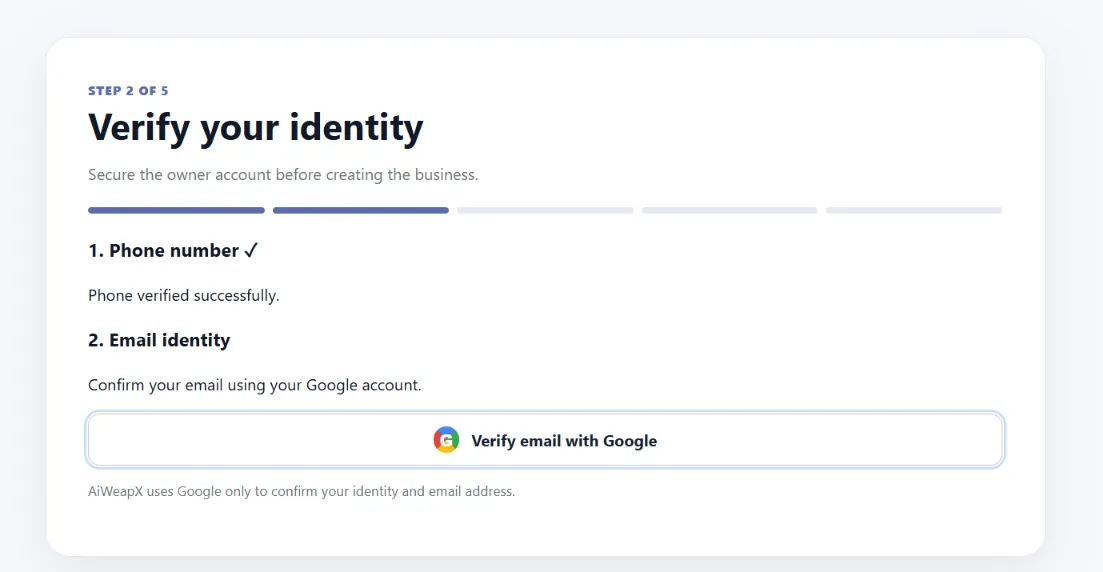
2. Verify your phone
Follow the phone verification prompt. Enter the code sent to your registered number, then continue.
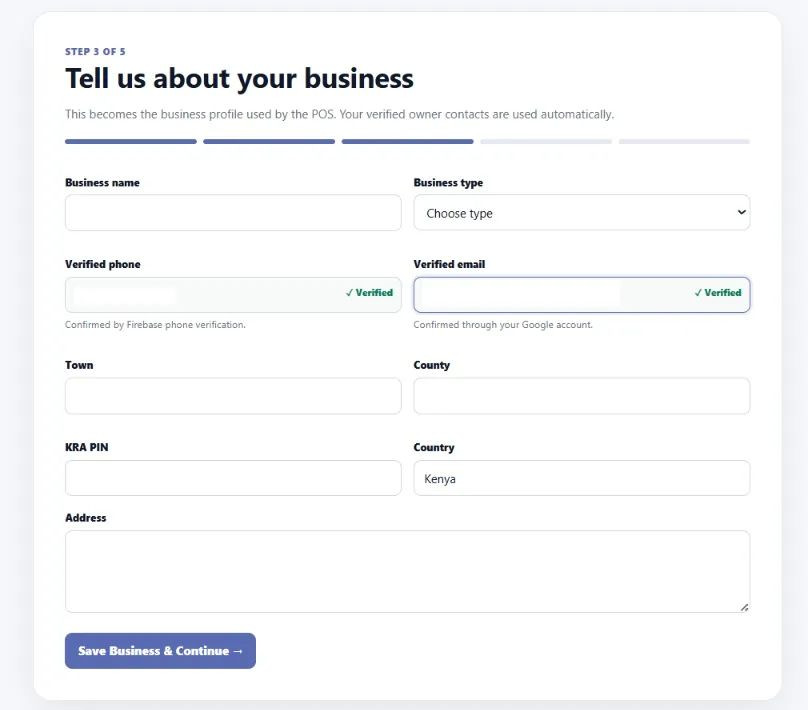
3. Add your business
Enter the business name, business type and contact details, then click Save & continue.
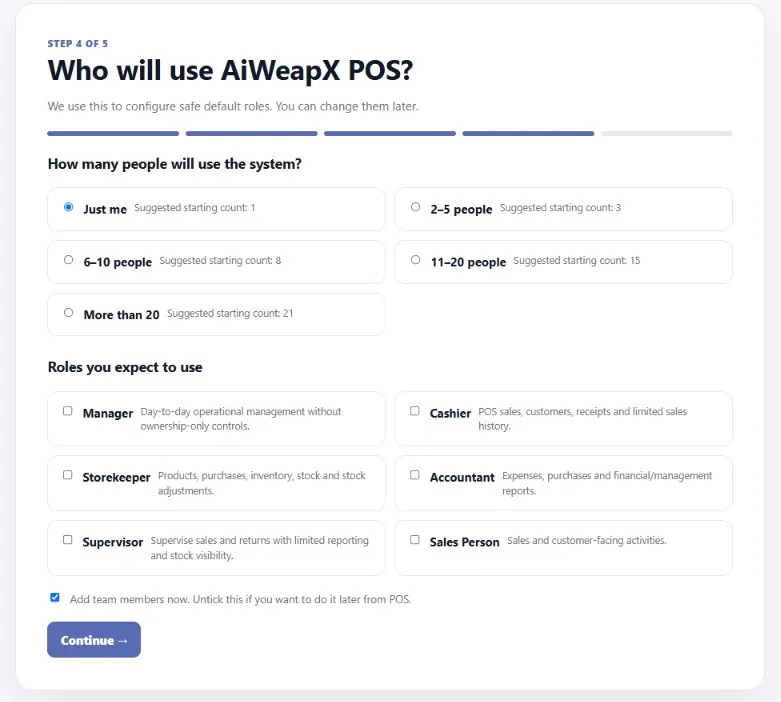
4. Choose your team profile
Choose who will use the POS. AiWeapX uses this choice to prepare suitable user roles.
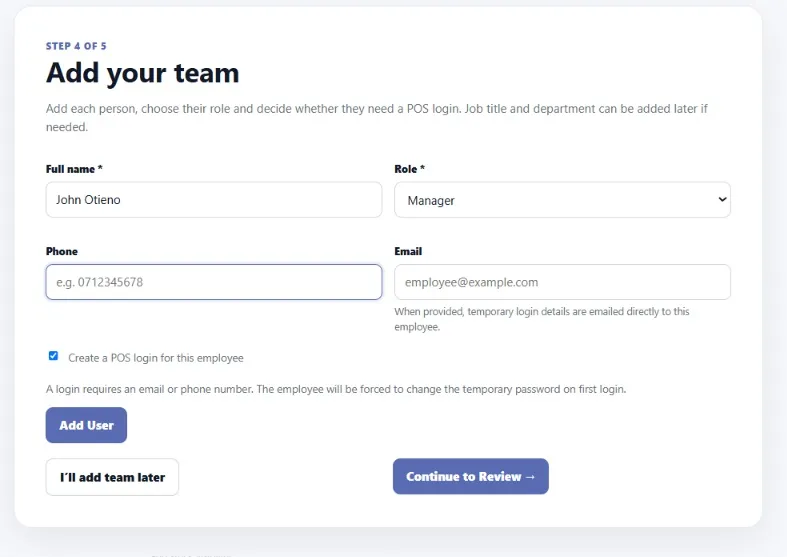
5. Add your team
Add the people who will operate or manage the POS. You can add more users later.
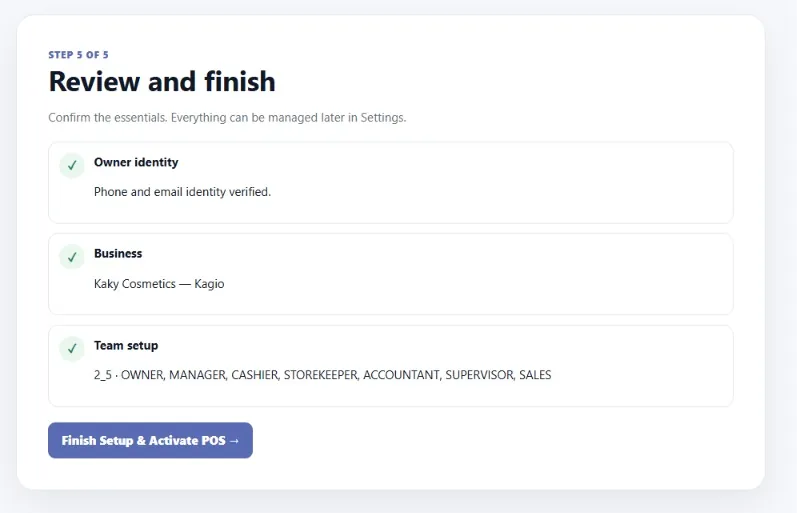
6. Review your setup
Check the business and team information. If everything is correct, continue to finish setup.
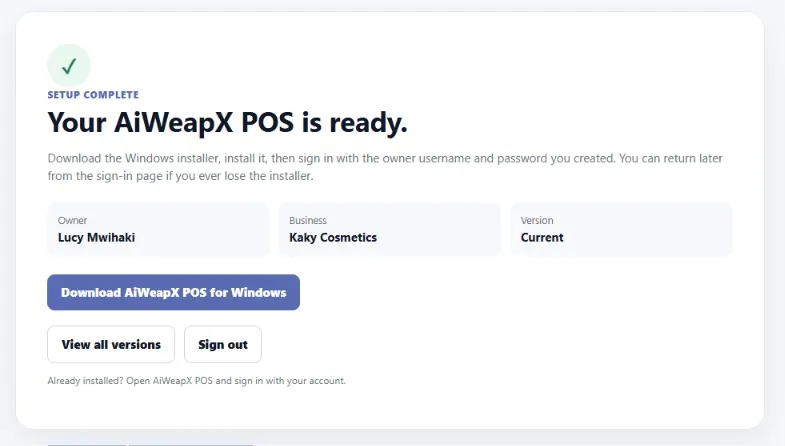
7. Download AiWeapX POS
When the setup is ready, click the download button and install the Windows POS application. Download AiWeapX POS.